Starting a small herb garden indoors is a wonderful way to bring fresh flavors into your kitchen, add greenery to your living space, and enjoy the satisfaction of growing your own plants. Whether you have a sunny windowsill or limited space, growing herbs indoors can be simple and rewarding. This guide will walk you through everything you need to know to get started.
Why Grow Herbs Indoors?
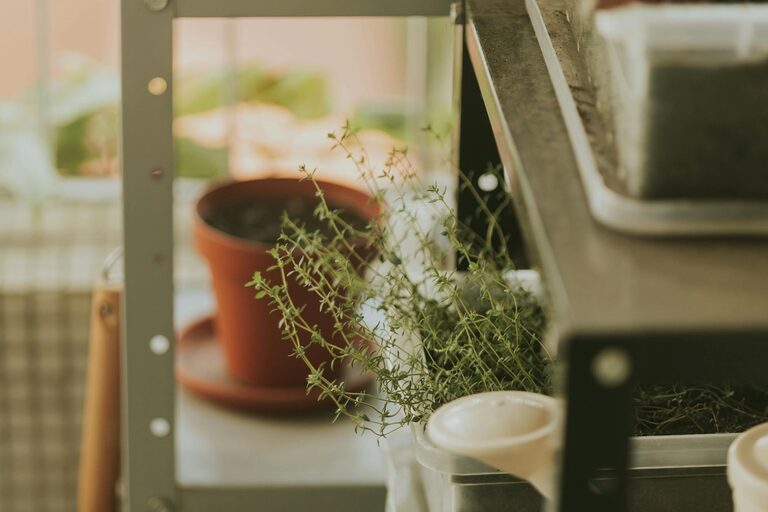
Growing herbs indoors offers several benefits:
– Freshness: Always have fresh herbs at hand for cooking.
– Convenience: No need to go to the store every time you need a bit of basil or mint.
– Aesthetics: Herbs add a lovely touch of green to your home décor.
– Cost-effective: Save money by growing herbs instead of buying them.
– Learning experience: Gardening indoors can be a fun and educational hobby.
Choosing the Right Herbs
Some herbs thrive better indoors than others. For beginners, consider starting with these easy-to-grow varieties:
– Basil: Great for many dishes and prefers bright light.
– Mint: Hardy and grows quickly, but can spread fast.
– Parsley: Requires moderate light and consistent moisture.
– Thyme: Tolerates less water and bright light.
– Chives: Easy to grow and do well on sunny window sills.
– Cilantro: Prefers cooler temperatures and ample light.
Choose herbs based on your cooking preferences and available growing conditions.
What You Need to Start Your Indoor Herb Garden
Before planting, gather the following supplies:
– Pots or containers: Choose pots with drainage holes to prevent waterlogging.
– Potting mix: Use a light, well-draining potting soil specifically designed for indoor plants.
– Seeds or starter plants: Seeds are inexpensive; starter plants grow faster.
– Light source: A south-facing window or grow lights for areas with limited sunlight.
– Watering can: For gentle and controlled watering.
– Labels: To keep track of different herbs.
– Fertilizer: Mild, balanced liquid fertilizer will support growth.
Step-by-Step Guide to Growing Your Indoor Herb Garden
1. Select Your Containers
Pick containers that fit your space and allow room for root growth. Small pots (4-6 inches in diameter) work well for most herbs. Ensure they have drainage holes to avoid root rot.
2. Prepare the Potting Mix
Fill your pots with fresh potting mix. Avoid garden soil since it can be too heavy and may contain pests or diseases. Lightly moisten the soil before planting.
3. Plant the Seeds or Starter Plants
– Seeds: Follow packet instructions for planting depth. Usually, herb seeds are planted just beneath the surface. Cover seeds lightly with soil and water gently.
– Starter plants: Gently remove plants from nursery pots, loosen roots slightly, and plant them in your pots.
4. Find the Right Spot
Most herbs need 6-8 hours of light daily. Place your pots on a sunny windowsill or under a grow light if natural light is insufficient. Rotate pots periodically to ensure even light exposure.
5. Water Properly
Herbs prefer soil that is consistently moist but not soggy. Water when the top inch of soil feels dry. Avoid overwatering by ensuring pots drain well. Use room-temperature water to avoid shocking the plants.
6. Maintain Optimal Humidity and Temperature
Indoor herbs thrive in temperatures between 65°F and 75°F (18°C to 24°C). If your home is dry, especially in winter, increase humidity by misting plants or placing a tray of water nearby.
7. Fertilize Occasionally
Feed your herbs with a balanced, water-soluble fertilizer every 4-6 weeks to encourage healthy growth. Avoid over-fertilizing, which can reduce flavor.
8. Prune Regularly
Regular pruning keeps your herbs bushy and productive. Snip off the tops regularly, but never remove more than one-third of the plant at once. Use fresh clippings in your cooking!
Troubleshooting Common Indoor Herb Gardening Issues
– Leggy or tall plants: Usually a sign of insufficient light. Try moving plants to a brighter spot.
– Yellowing leaves: Could be overwatering or poor drainage.
– Wilting: Often caused by underwatering.
– Pests: Watch for aphids or spider mites. Wipe leaves with a damp cloth or use insecticidal soap if needed.
Harvesting Your Indoor Herbs
You can start harvesting once plants have grown enough leaves—usually 3-4 weeks after planting. Use sharp scissors to snip leaves or stems, harvesting just above a leaf node to encourage new growth.
Tips for Success
– Start small, especially if you’re new to gardening.
– Group plants with similar light and water needs.
– Keep a growing journal to track what works best.
– Use herbs in your everyday cooking to make the most of your harvest.
Conclusion
Growing a small indoor herb garden can be an enjoyable and practical hobby. It requires minimal space and offers plenty of benefits for your kitchen and home ambiance. With some basic supplies and a little care, you can have fresh herbs at your fingertips all year round. Happy gardening!
—
If you enjoyed this guide, consider sharing your indoor herb garden stories or photos in the comments!